
The Process
from rough board to cutting board
-
Designing
The first step to a successful board is designing it. It takes time. Taking the time to make compelling designs with all the math laid out does two things. First, it gives me a visual representation of what my glue-ups are supposed to look like. More importantly, it allows me to plan for the least amount of waste. Read more about my design process on the blog page.

-
Buying the rough wood
This is where your plans are handy. Going to the lumber store is always a challenge. Trying to find the “cleanest” boards that will yield the least amount of off cuts and waste is critical. This can be challenging. It require experience in knowing what your re looking for, and most of the wood I end up buying still has the machining marks on it and looks very rough. This is where a jointer comes into play in the shop. This is also where a lot of math gets done, because hardwoods are not sold dimensionally. I need to calculate exactly what I need for a given project withe every visit to the lumber store. See my blog on sourcing lumber to learn more.

-
Milling: The Mitre saw
The mitre saw has a very simple job in the milling process. While it can be done with a jig saw, a bandsaw, or a circular saw, the mitre saw is the fastest way to the end result. In short, the mitre saw helps to take long boards and break them into more manageable pieces for the jointer, table saw, and planer.

-
Milling: The Jointer
The jointer is a crucial machine in the milling process. It has one job: to flatten two sides of the board square to each other. Because I purchase lumber with no flat sides, also know as “rough sawn” boards, I need a jointer to be able to then transfer the rough boards to the table saw.

-
Milling: The table saw
The table saw is where the board goes next. This is where the boards get cut into the rough shape they will be in for the first glue-up. The table saw is where the larger boards are turned into “strips”. After the second glue up, the board returns to the table saw but with the crosscut sled. To learn more about glue ups and crosscut seldom, keep reading.

-
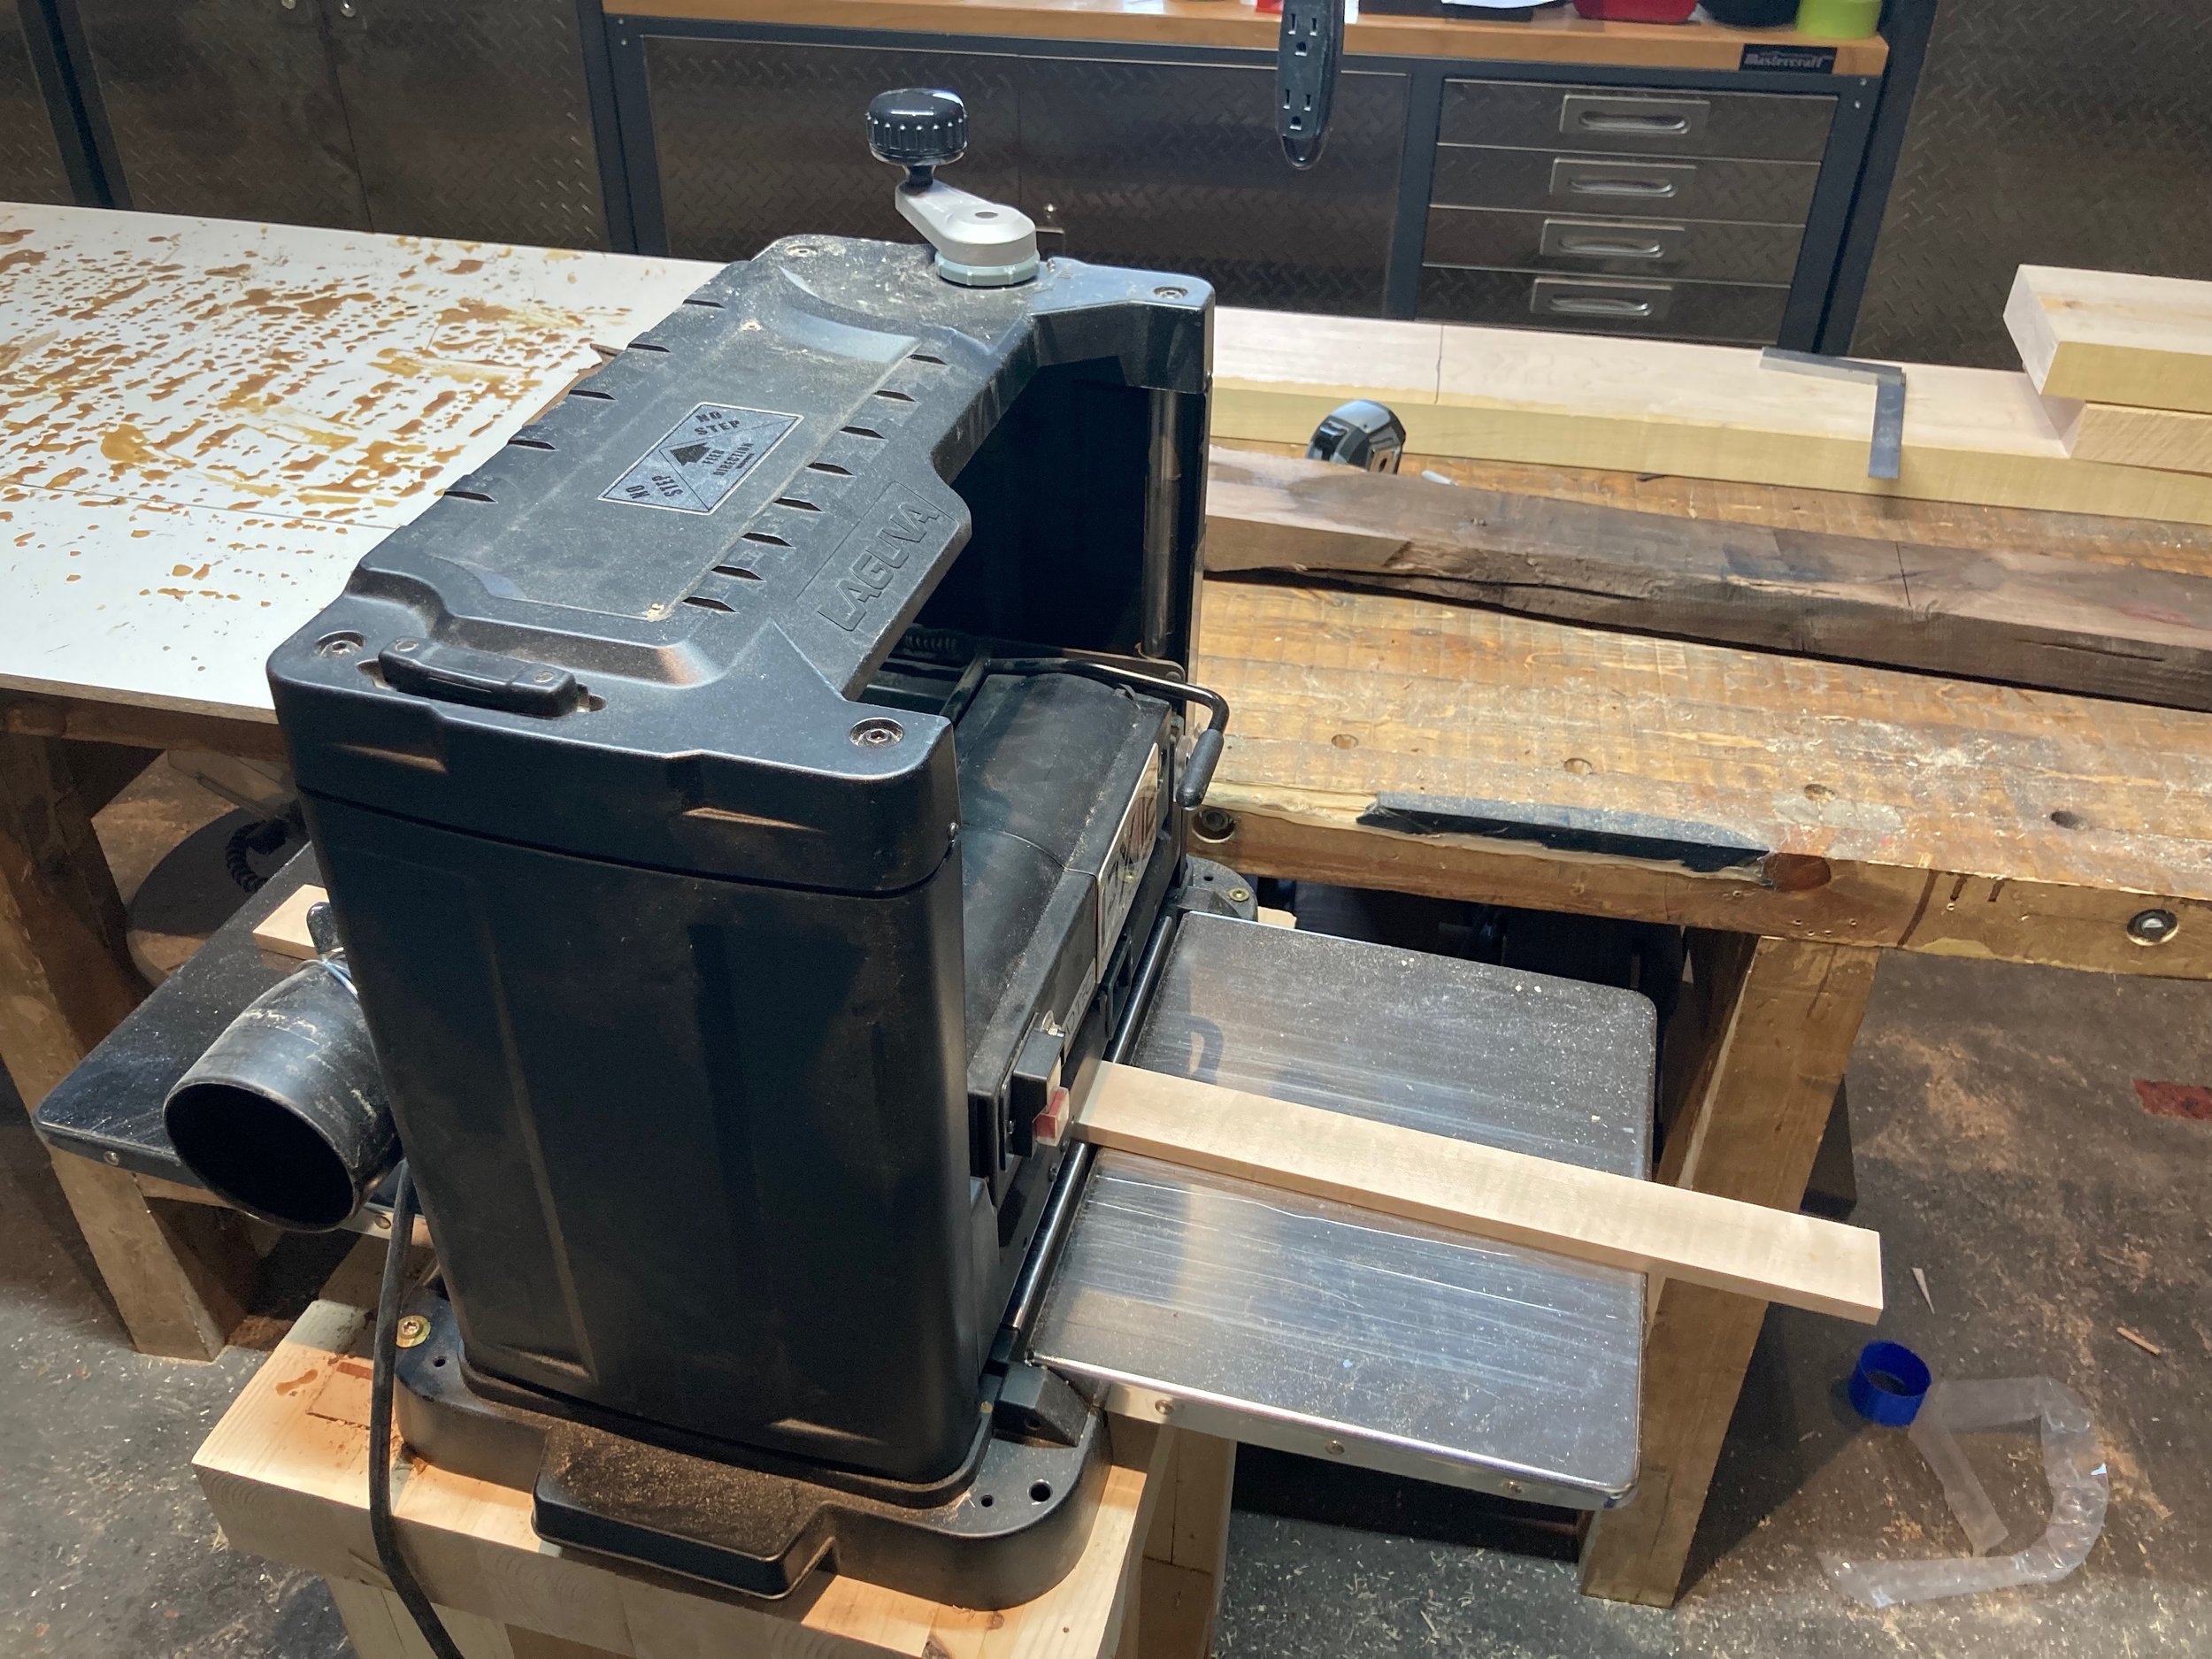
Milling: The planer
After the table saw, the board is still not smooth enough for a glue up (the two jointed sides are smooth but not the other two), so this is where the planer comes into play. A planer basically “thins” boards, but also leaves a clean finish, which is key for quality glue ups. I run three sides of the “strips” through the planer.
-
first glue up
After rearranging the strips into the correct order (obviously different for every board pattern), I put glue on all the sides I want joined together and then place the glue-covered strips in my clamps.( you can never have too many clamps!) I then let that dry for 24 hours.

-
Glue clean up one
After 24 hours, I remove the wood from the clamps. The “squeeze out” of glue from the glue up solidifies into bumps all along the surface of the joint. In order to remove this excess glue, I use different methods depending on the situation. If the glue-up is very wide, it goes through the drum sander, if the glue-up is narrow, I do one side on the jointer and the other side on the planer.

-
Milling: The table saw with the crosscut sled
Once the first glue-up is done, I go to the crosscut sled. Some boards have another glue up before the crosscut sled, but it’s not too common. On the crosscut sled, I cut the panels I’ve made 90 degrees, and then flip them upright to expose the end grain. This is the first time I really get an idea for what the board is going to look like.

-
Glue up Two
This is the final glue up. This glue up has the end grain fully exposed. It is important that my alignment be spot on for this glue up because any mistake at this point will show. I usually leave this glue up in the clamp for 36 hours, and put lots of glue to ensure its fully cured and a really strong bond.

-
Sanding
Once I remove the board from the clamps, I flatten the end grain on the drum sander at 80 grit. This is by far the most time consuming part of making an end grain cutting board. End grain burns very easily. It requires several very light passes. Once the end grain has been flattened, I switch out the grit for some 200 grit, which removes most of the really deep scratch marks left behind by the 80 grit. Once I’m done sanding on the 200 grit belt, I use a random orbit sander to remove the scratches left by the 200 grit (these marks are not deep and can be removed with a small handheld tool). Now it is time to add a chamfer

-
Milling: The finishing touches
After all the sanding is complete, using my crosscut sled, I clean up all sides of the board, add a chamfer by putting the blade of my table saw at 45 degrees, and add a 3/4 roundover with a router.

Finishing
-
Preparing the wax
Over very low heat, I combine beeswax and pure food-grade mineral oil in a container until all the beeswax has melted fully.

-
Applying the wax
While the wax is still hot, I put a generous amount on one side of the board, then wait fifteen minutes for the wax to solidify. I then flip the board and do the same thing on the other side. Once the wax has solidified, I buff off the excess with a cloth.

-
The finishing touches
After letting the board dry for 24 hours, I screw some rubber feet into then brand my logo into the bottom of the board and we are done.
